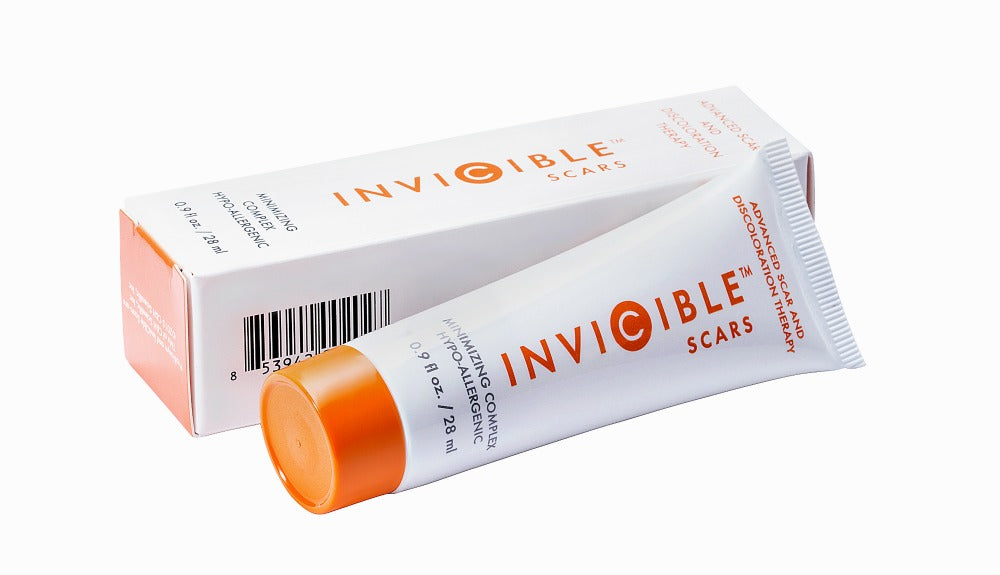
With reports of skin cancer, breast cancer, c-sections and cosmetic surgery – all on the rise – so too is the incidence of scarring. Not surprisingly, once the healing process sets in – both physical and psychological – the first thing people with fresh scars want to do is fade them.
I know that when I had my gall bladder out, it left behind a large scar that I quickly wanted to hide. From working with the team behind InviCible Scars there are something things I've learned when it comes to fading scars (and dark spots) -- there is more to it than just applying a cream.
Ironically, people’s first inclination in response to a new scar is to sit in the sun to help even out the color and texture. I know that with previous scars, this is exactly what I thought I should do.
While sun exposure is essential for vitamin D absorption, it’s perhaps the worst possible thing a person can do for a scar. UV exposure not only darkens a scar’s appearance (sometimes even permanently), especially among more olive-toned complexions, but it can also impact texture, causing the scar to thicken.
For those who can’t avoid the sun entirely this summer, Dr. Chrysopoulo (the plastic surgeon behind InviCible) recommends using a topical scar cream, like InviCible, and ALWAYS covering the area with a broad spectrum sunscreen with a minimum of SPF 30.
There are also various factors influencing the scar healing process:
-
Age – younger skin is more prone to abnormal and exaggerated healing. This can lead to hypertrophic or keloid scars. Older skin takes longer to recover.
-
Skin type – scar healing is typically worse in people with darker skin types. African and Hispanic ancestry is associated with a higher risk of developing hypertrophic or keloid scars.
-
Genetics – abnormal scarring can be inherited.
-
Location – Movement of scars over joints can make them wider.
-
Infection – Infected wounds do not heal well. The final scar may be raised, wide, uneven and abnormally red or dark.
-
Poor nutrition – Not eating healthily deprives the body of nutrients (like protein), vitamins (like vitamin C) and minerals (like copper and zinc) that are needed for optimal wound healing.
-
Smoking – Cigarette smoke causes blood vessels to clamp down and decrease blood flow. Wounds that do not receive enough blood are more prone to poor wound healing and worse scarring.
-
Sun exposure – Exposing fresh scars to the sun causes permanent redness. We can improve each stage of scar formation by using a high quality scar treatment.
Would you spend money to fix a problem and, at the same time, sabotage the outcome? Unless you watch your diet while your scar is healing, that is exactly what you may be doing…
Research has shown that certain nutrients play critical roles in wound healing, and that typical Western diets may not provide enough of them. This is a list of the most important ones. If you suspect your diet does not have enough of them, consider taking supplements while your scar is forming.
-
Protein –breaks down into amino acids. Especially L-Arginine and Glutamine are very important. They can increase the amount of reparative collagen, help white blood cells and fight of bacterial infections.
-
Vitamin C - is crucial for proper collagen production. Experts say that wound healing requires more Vitamin C than daily food intake normally provides.
-
Vitamin B Complex – speeds up wound healing, increases protein synthesis and the amount of repair cells at the wound. It also prevents excessive inflammation. Vitamin B5 is particularly beneficial right after the wound occurs.
-
Vitamin A – promotes tissue synthesis and enhances resistance to infection.
-
Zinc – has reduced healing time after surgery by 43% in some cases. Zinc can also reduce inflammation and bacterial growth, whereas a deficiency can worsen the scar.
Other things to watch? Make sure you eat enough omega-6 or omega-3 fatty acids and drink enough liquid. Some guidelines say that men should drink 13 eight-ounce cups and women 9 eight-ounce cups of water, juice or milk. Soup, fruit and vegetables factor into the total.
So as you can see, if you want your scar to heal, there are many more things to do in addition to using a scar treatment. What I love about InviCible is that if you use it on your face for either surgical or acne scarring or to fade age spots (like I am), it also works great as a makeup primer!
*Disclosure, affiliate links
 Why spend money coloring your hair if you're only going to use products that fade your color instantly?
In my latest hair care video, I give 4 tips to extend the life of your hair color, along with my favorite sulfate-free shampoos, conditioners, dry shampoos and styling balm. These tips are applicable regardless of season, because I don't know about you, but I color my hair all year long (gotta hide those greys!)


