I'm sharing #MyOliaStory as part of a Garnier sponsored series for Socialstars™
Taking your hair color from dark to light is a not something that can be done in a day. Well, at least not when you are doing it on your own at home. You want to be really careful with dyeing your hair so as not to over-process it and cause any damage. When done correctly, you can end up with gorgeous hair at a fraction of the cost at the salon.
You just have to follow directions and need a little patience (enjoy the Guns and Roses earworm.) I have dark brown hair, but I've been wanting to go lighter. Not blonde, but a much lighter brown, because I want to stick with something natural looking that won't contrast with my skin tone in a negative way.
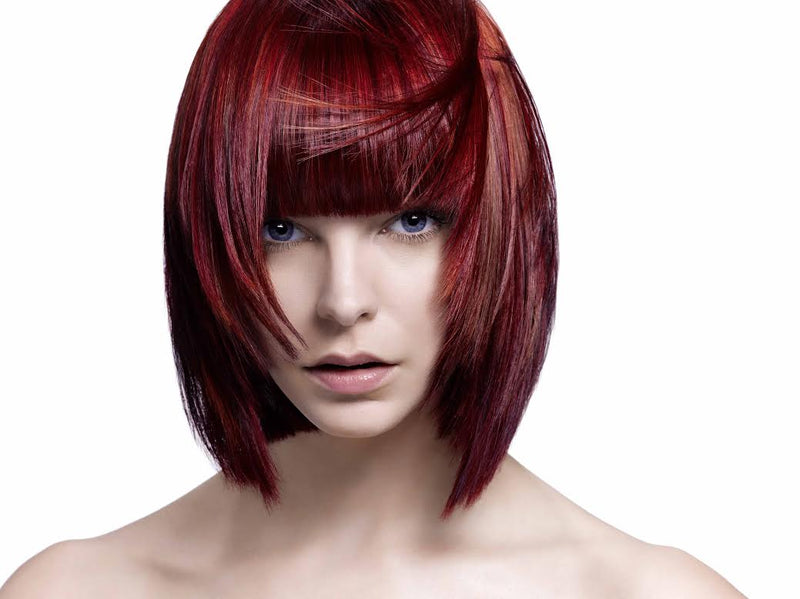
I've made that mistake before. I've dyed my hair red, I've dyed my hair so black that it had hues of blue/purple and I've "frosted" (OMG so 80s) my hair. Red brought out the ruddiness in my skin. Black made me look goth (not my style, but it may be yours) and frosted looked more like I just randomly threw bleach in my hair (i.e. it looked like straw) and made my skin look sallow.
Before You Begin: 
Have Realistic Expectations:
If you have visions of going from brunette to a bombshell blonde in a matter of an hour, think again - at least if you want it to look as natural as possible. Not to mention, sometimes trying to immediately make a major change can sometimes result in less than optimal results. (Like brassiness, looking more orange than blonde, etc.)
Research Shades in Your Hair Color Range:
First know exactly which shade of brunette you are and the tones to your hair (blonde, golden or red?) While you can look on the side of the box to see a side by side comparison of your natural color and your
Garnier Olia result in the store, I recommend going to their
Shade Selector on their website instead. It is a better visual to understand where you are at and where you want your hair color to go.
Know it Will Take Time:
Come to terms from the start that this is a process. You want to step down your hair color so that it looks like it lightened naturally, which may take 1-3 applications (over time), 6 weeks apart each time. This will look even more believable when it is the Spring to Summer transition.
Follow Directions:
How many of us skip the instructions and just want to get down to it? Don't rush and don't do overall coloring each time. The first time you use a permanent hair dye, covering your entire head is fine. But each re-application in the weeks to follow should be done at the roots and/or roots for a period of time, then the rest of your hair.
How to Use Garnier Olia to Lighten Your Hair:
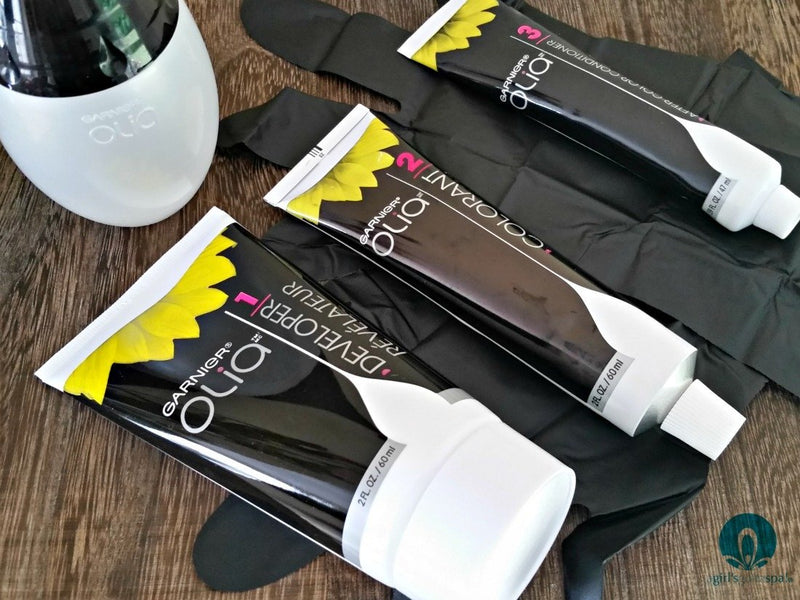
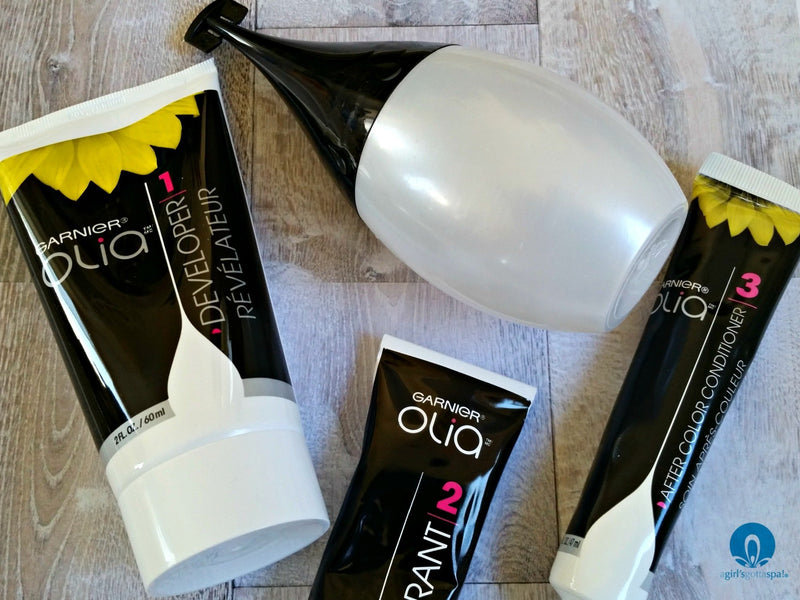
Get Set Up Before Starting:
You'll need something to time it, instruction pamphlet, gloves, applicator, developer, colorant, an old towel and a petroleum-like jelly. Wear old clothes. Even though Olia does not drip, there is still human error and you don't want to mess up your clothing. Apply the jelly along your hair line, and back of your neck, and tops of your ears so that color wipes off easily and doesn't stain.
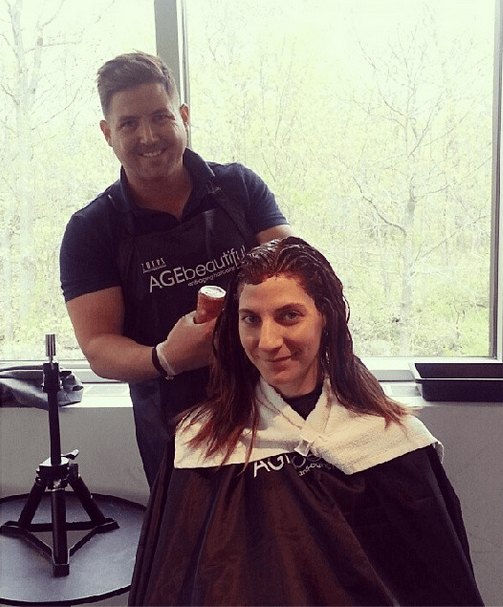
Apply to Your Roots First:
My first application with Olia covered my whole head, but with this application, in order to step down my color some more, I had to apply to my roots first for 28 minutes. Make sure you are in good lighting so that you can see exactly where your roots end. Eat something chocolate while you wait. (Or is that just me?)
Apply Mid-Length to Ends:
Around 27 minutes I began to apply the rest of the Olia ammonia free hair color from mid-length to my ends while not washing out the dye on my roots. I let this sit until the 30 minute mark. I didn't want too huge of a dramatic difference between my roots and the rest of my hair. The top of your head will always be lighter when naturally lightened by the sun, but you don't want it to be all BOOM
I colored my hair looking.
Rinse and Apply After Color Conditioner:
Make sure you use lukewarm water to rinse. I probably rinse for a good 3-5 minutes to make sure it is all out. Then apply the After Color Conditioner and leave it on for 2 minutes and rinse again.
Style As Usual:
I never wash my hair for the first 24-48 hours after coloring, so I go light on the hair treatments. Since hair dye plumps up your hair, I don't put in a root lifter for the first few days, just some anti-frizz serum and a little hairspray. I typically curl my hair though because it'll give my hair the look of fullness.
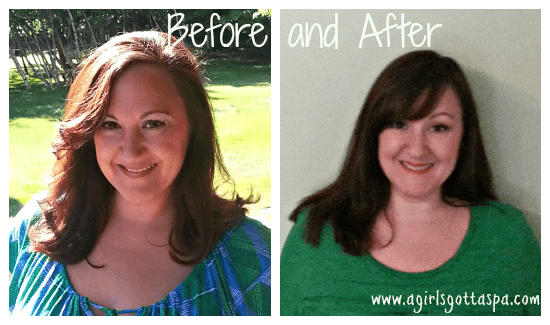
I do have many grays and Garnier Olia has 100% gray coverage. Since it is powered by 60% oil, I also have shiny hair as a result. My first application was with Olia Light Brown 6.0 and this application was Olia Lightest Golden Brown 6 1/2.3
What do you think of the color? If you have any questions about coloring your hair, ask away in the comments!


 If you still haven't tried Garnier® Olia for yourself, let me tell you some of the things I have loved about using it: Olia is an ammonia-free hair dye - I love that even though my color is coming from a bottle, it certainly doesn't smell that way during the process.
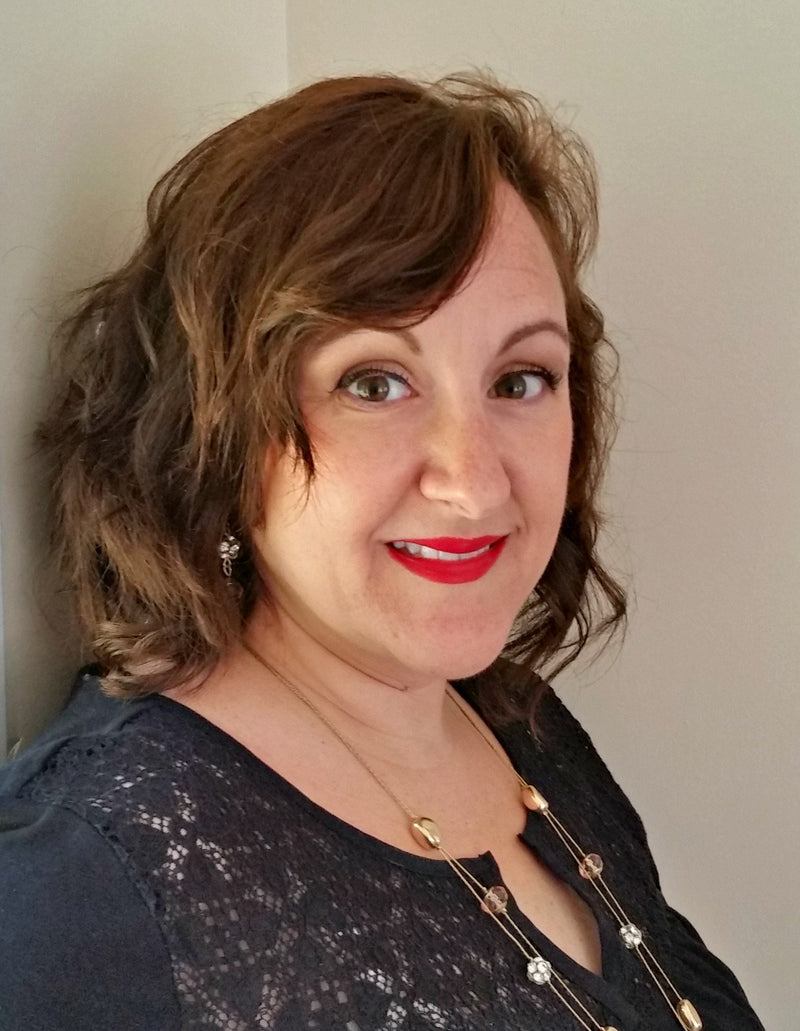
 I used Olia 6 1/2 .3 again as my shade, but instead of just doing my roots this time, I actually did my whole head. I was a little nervous about that, but I'm happy with how it came out.